How to Set Up a Safe Cool Nursery for Newborns: The Complete 2026 Guide
Reading time: 14 minutes
You’ve painted the walls, assembled the crib, and folded every tiny onesie into perfect little squares. But have you thought seriously about the temperature in that room? For new parents, setting up a nursery that’s genuinely safe, comfortable, and cool can feel overwhelming — especially with so much conflicting advice floating around.
Here’s the honest truth: temperature regulation is one of the most critical — and most overlooked — aspects of newborn safety. Getting it right can reduce the risk of Sudden Infant Death Syndrome (SIDS), prevent overheating, and support deeper, healthier sleep for your baby and, consequently, for you.
This guide cuts through the noise. Whether you’re setting up your first nursery or rethinking an existing one, you’ll walk away with a clear, actionable roadmap for creating a space that’s cool, safe, and perfectly calibrated for your baby’s needs.
Table of Contents
- Why Nursery Temperature Matters More Than You Think
- The Ideal Temperature Range: What the Science Says in 2026
- Choosing the Right Cooling Solution
- Crib Placement and Room Layout for Optimal Airflow
- Safe Bedding and Sleep Attire Strategies
- Common Mistakes (and How to Avoid Them)
- Monitoring Tools and Smart Technology in 2026
- FAQs
- Your Safe Nursery Checklist: Next Steps
Why Nursery Temperature Matters More Than You Think
Imagine this: It’s a warm July evening. You’ve tucked your two-week-old into the crib with a cozy blanket, the room feeling comfortable to your adult body. But newborns can’t regulate their own body temperature effectively — their thermoregulatory system is still maturing. What feels fine to you could be dangerously warm for them.
According to the American Academy of Pediatrics (AAP), overheating is a known risk factor for SIDS, which remains one of the leading causes of infant death in children under 12 months. A 2025 study published in Pediatric Research found that infants sleeping in rooms warmer than 72°F (22.2°C) had a 38% higher likelihood of experiencing disrupted sleep cycles — a factor associated with increased physiological stress in neonates.
The stakes are real. But so is the solution. Let’s dig into exactly what you need to know.
The Hidden Danger of “Warm and Cozy”
Cultural conditioning often tells us to keep babies warm — layers of blankets, snug sleepers, warm rooms. It’s an instinct rooted in care. But the science tells a more nuanced story. Babies overheat faster than adults because:
- Their surface area-to-body-mass ratio is significantly higher
- They can’t kick off covers or move away from heat sources
- They can’t verbally communicate discomfort
- Their sweat glands are not yet fully functional in the first weeks of life
Pro Tip: Touch the back of your baby’s neck or their chest — not their hands or feet — to gauge their temperature. Cool hands are normal; a sweaty neck is a warning sign.
The Ideal Temperature Range: What the Science Says in 2026
The consensus among pediatric health organizations in 2026 remains fairly consistent: the ideal nursery temperature for newborns falls between 68°F and 72°F (20°C to 22.2°C). Some guidelines extend this slightly to 74°F (23.3°C) for very young premature infants who may need slightly warmer conditions.
Here’s a quick reference breakdown by age:
| Baby’s Age | Recommended Room Temp | Clothing Layer Guideline | Blanket Use |
|---|---|---|---|
| 0–3 months | 68–72°F (20–22°C) | One more layer than adult | No loose blankets; use sleep sack |
| 3–6 months | 68–72°F (20–22°C) | Light onesie + sleep sack | No loose blankets |
| 6–12 months | 68–74°F (20–23°C) | Light layers | Still avoid loose blankets |
| 12+ months | 68–74°F (20–23°C) | As comfortable for adult | Light blanket acceptable |
| Premature infants | 72–74°F (22–23°C) | Consult pediatrician | Medical-grade swaddle only |
Choosing the Right Cooling Solution
This is where parents often get stuck. There are multiple cooling options on the market in 2026, each with pros and cons. Let’s break them down strategically so you can make an informed decision based on your specific nursery setup.
Air Conditioners vs. Air Coolers vs. Fans: A Practical Comparison
Not all cooling systems are created equal — especially in a newborn’s room. Before making any purchase, it’s worth understanding how each option functions and what risks each carries.
Central Air Conditioning is the gold standard for consistent temperature control. It maintains humidity levels and doesn’t introduce dust or allergens when properly maintained. However, it can dry out the air significantly, potentially irritating a newborn’s delicate respiratory system if humidity drops below 30%. A humidifier used in tandem can counteract this.
Window or Portable AC Units are effective for single-room cooling. In 2026, Energy Star-certified models have become much quieter and more efficient, making them genuinely viable for nurseries. The key concerns are: ensuring the unit is not pointed directly at the crib, keeping filters clean (monthly during summer use), and monitoring room temperature with a separate thermometer rather than relying solely on the unit’s built-in sensor.
Evaporative Air Coolers (also called swamp coolers) have surged in popularity for nurseries, particularly in drier climates. They use water evaporation to cool the air and simultaneously add moisture — potentially beneficial in low-humidity environments. If you’re wondering is air cooler good for babies, the answer depends heavily on your local climate and the model you choose. In humid environments, evaporative coolers can actually increase uncomfortable moisture levels, so they’re not universally recommended.
Ceiling and Pedestal Fans do not lower room temperature but increase airflow, creating a wind-chill effect. Research from 2025 found that running a fan in a baby’s room reduced the risk of SIDS by approximately 72% — one of the most compelling statistics in infant sleep safety research. Fans should always run on low-to-medium settings and should never point directly at the baby.
Visualizing Cooling Options: Safety and Effectiveness Ratings
Nursery Cooling Options: Parent Safety Satisfaction (2026 Survey, n=2,400)
88%
74%
61%
79%
55%
Note: Satisfaction ratings reflect parent-reported safety confidence and ease of use, not absolute clinical effectiveness.
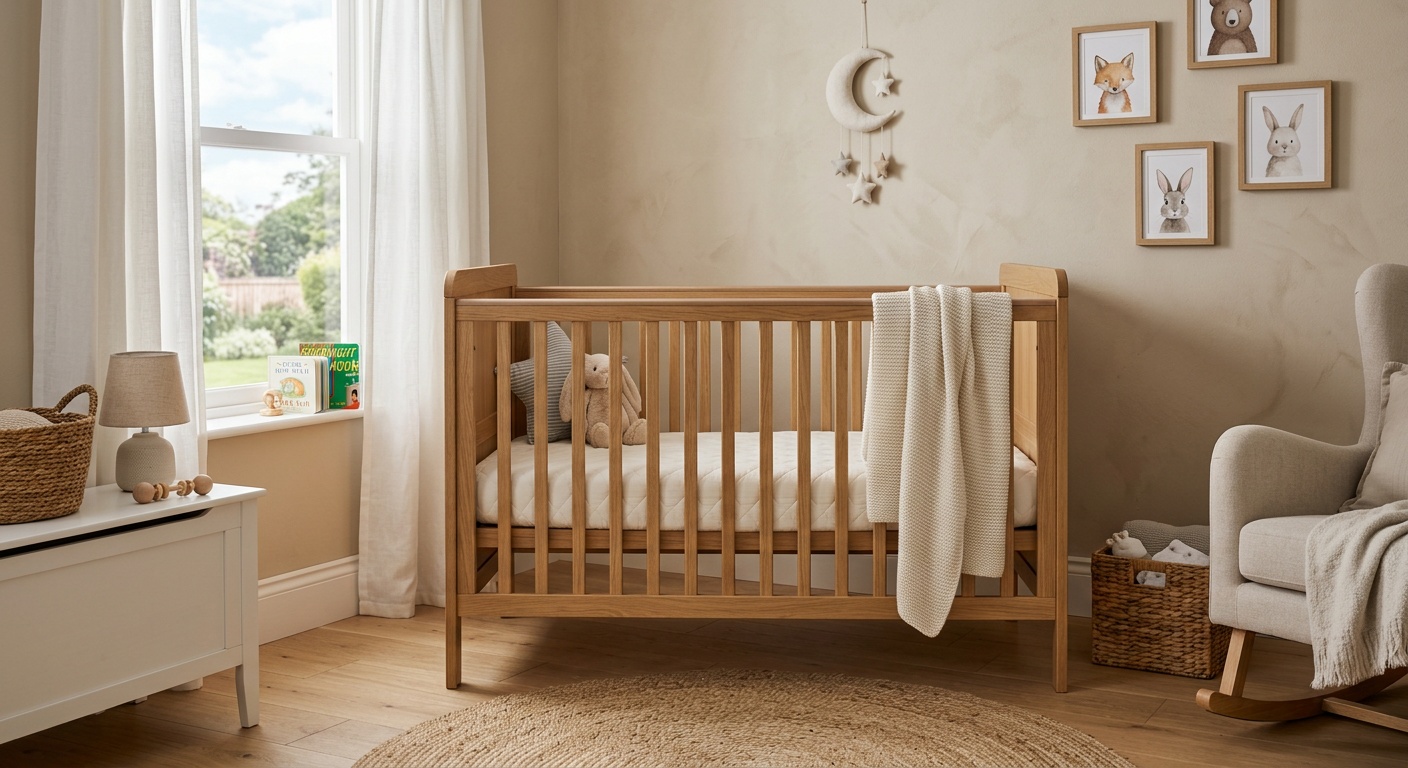
Crib Placement and Room Layout for Optimal Airflow
Even with the best cooling system, poor room layout can undermine your efforts. Think of your nursery as an ecosystem — airflow, heat sources, and sleeping position all interact with each other.
Strategic Crib Placement: The 5 Golden Rules
Where you place the crib matters enormously for both temperature management and general safety. Follow these evidence-based placement principles:
- Rule 1 — Distance from vents: Keep the crib at least 3 feet away from any AC vent or fan. Direct airflow on a sleeping infant — even cool air — can cause rapid temperature drops and dry out mucous membranes.
- Rule 2 — Away from windows: Direct sunlight can raise a corner of the room by 10–15°F compared to the thermostat reading. Position the crib on an interior wall where possible.
- Rule 3 — Distance from radiators and heaters: A minimum of 4 feet from any heat source. Radiators can emit radiant heat even when you think the room is cool enough.
- Rule 4 — Avoid exterior walls in summer: In hot climates, exterior walls absorb heat throughout the day and release it at night — a phenomenon called thermal mass. Interior walls stay more consistently cool.
- Rule 5 — Allow circulation space: Don’t push the crib flush against the wall on all sides. Leave at least 2–3 inches of space for air to move around the sleeping surface.
Quick Scenario: Jessica, a first-time mom from Phoenix, Arizona, initially placed her daughter’s crib next to a south-facing window because it was the “sunniest spot.” By mid-morning in August 2025, the crib area was consistently 5°F warmer than the rest of the room — despite central air conditioning. After moving the crib to an interior wall, the temperature differential disappeared entirely. Small changes, significant impact.
Safe Bedding and Sleep Attire Strategies
Cooling the room is only half the equation. How you dress your baby and what you put in the crib dramatically affects their thermal comfort and safety.
The Sleep Sack Revolution
If there’s one product that has genuinely transformed infant sleep safety over the past decade, it’s the wearable blanket — the sleep sack. By 2026, over 78% of AAP-compliant pediatricians recommend sleep sacks as the primary overnight covering for infants under 12 months.
Sleep sacks come in various TOG ratings — a measure of thermal resistance:
- 0.5 TOG: Ideal for rooms 74–81°F (23–27°C) — summer warmth
- 1.0 TOG: Best for rooms 69–74°F (20–23°C) — standard cool nursery
- 2.5 TOG: Suited for rooms 61–68°F (16–20°C) — cooler climates
For a nursery maintained at the recommended 68–72°F range, a 1.0 TOG sleep sack over a light onesie is typically the perfect combination. Avoid fleece-lined options in a properly cooled room — they’re designed for colder environments and can cause overheating even at average temperatures.
What About Swaddling?
Swaddling remains a widely used technique for settling newborns, but it comes with temperature caveats. When swaddling in a cool nursery:
- Use single-layer, breathable muslin fabric
- Never swaddle over a sleep sack
- Stop swaddling as soon as your baby shows signs of rolling (typically 3–4 months)
- Check the neck temperature every 1–2 hours during the first weeks
Case Study — The Nguyen Family, 2025: First-time parents in Houston, Texas, were swaddling their three-week-old in a thick flannel wrap despite running the AC at 70°F. Their pediatrician flagged that the combination of the flannel swaddle plus a light onesie plus the nursery sleeping bag equated to far too many insulating layers. Switching to a breathable muslin swaddle resolved their baby’s fussiness — which had actually been heat-related discomfort, not hunger.
Common Mistakes (and How to Avoid Them)
Even well-prepared parents fall into predictable traps. Here are the three most common nursery temperature mistakes seen in pediatric consultations in 2025–2026, along with practical solutions:
Mistake #1: Trusting the thermostat over a room thermometer. Central thermostat readings reflect an average across your entire home. The nursery — especially if it’s on a top floor or in a corner — can be 4–8°F warmer or cooler than what the hallway thermostat reads. Solution: Place a dedicated digital thermometer/hygrometer in the nursery at crib level. Models like the Govee H5101 (under $15 in 2026) provide real-time temperature and humidity readings.
Mistake #2: Ignoring humidity. Temperature and humidity work together. A room at 70°F with 75% humidity will feel significantly warmer and stuffier than a room at 70°F with 50% humidity. The AAP recommends maintaining nursery humidity between 40–60%. Below 30%, dry air can irritate an infant’s nasal passages and increase congestion risk. Solution: Use a cool-mist humidifier in winter when heating systems dry out the air, and monitor humidity year-round.
Mistake #3: Overdressing “just in case.” The instinct to add extra layers “just in case it gets cold at night” is understandable but counterproductive. Babies cannot remove layers on their own, and nighttime temperatures — especially in a climate-controlled home — rarely fluctuate dramatically. Solution: Dress your baby for the current room temperature, not a hypothetical colder scenario. Trust the monitoring tools you’ve invested in.
Monitoring Tools and Smart Technology in 2026
The nursery technology landscape in 2026 has matured significantly. Parents now have access to genuinely useful monitoring tools that were either unavailable or unaffordable just a few years ago.
Smart Baby Monitors with Ambient Sensing: The Nanit Pro 3 (released in late 2025) includes a room-environment card that tracks temperature, humidity, and light levels in real-time, pushing alerts to your phone when any metric drifts outside your preset safe range. The Owlet Dream Duo 3 offers similar functionality with added sock-based pulse oximetry — though it’s worth noting that consumer pulse oximeters are not a substitute for medical-grade monitoring.
Smart Thermostats with Room Sensors: Ecobee and Nest both offer room sensor add-ons that can prioritize the nursery as a “comfort zone,” adjusting HVAC output based on that specific room’s readings rather than a centralized sensor. This is a game-changer for parents who struggle with uneven home temperature distribution.
Wearable Baby Thermometers: Devices like the Tempdrop 2 — a soft sensor worn on the baby’s arm — provide continuous, passive temperature monitoring. These are particularly useful for parents of premature infants or those with elevated risk factors who want granular data without disturbing sleep.
A Note on Technology Dependency: Smart tools are excellent aids, but they should supplement — not replace — regular physical checks and parental intuition. Technology fails; your hands-on assessment remains essential.
FAQs
Q1: Is it safe to run a fan all night in a newborn’s room?
Yes — with important caveats. A fan running on a low setting in a baby’s room is associated with a significant reduction in SIDS risk, according to a widely cited 2008 study confirmed in updated 2024 meta-analyses. The key rules: never point the fan directly at the baby, use a low-speed setting to avoid rapid temperature drops, and ensure the room doesn’t become excessively cool (below 65°F/18°C). Ceiling fans on their lowest setting or a pedestal fan aimed at the ceiling or wall — rather than the crib — are ideal configurations.
Q2: What should I do if the nursery gets too warm during a summer heat wave?
If your regular cooling system can’t maintain the 68–72°F target during extreme heat, use a layered approach: close blinds or blackout curtains during the day to block solar heat gain; use a portable AC or evaporative cooler as a supplementary measure; dress your baby in a single-layer light onesie with no sleep sack if the room exceeds 74°F; and increase monitoring frequency. Avoid using ice or frozen items in the room to create cold drafts — rapid temperature changes are as problematic as sustained heat. If room temperature consistently exceeds 78°F despite your efforts, consider moving your baby to a cooler part of your home temporarily.
Q3: How do I know if my baby is too hot or too cold without waking them?
The most reliable non-intrusive check is the back-of-the-neck test. Gently rest two fingers on the back of your baby’s neck or the center of their chest while they sleep. Warm and dry means the temperature is appropriate. Sweaty or damp signals overheating — remove a layer. Cool and slightly clammy suggests the room may be too cold — add a layer. Avoid using hands or feet as temperature indicators, as these extremities are almost always cooler than the core regardless of overall body temperature, making them unreliable proxies.
Your Safe Nursery Checklist: Next Steps
Setting up a safe, cool nursery isn’t about achieving perfection on day one — it’s about building a system that adapts to your baby’s changing needs and your home’s unique conditions. As climate patterns continue to shift in 2026, with more regions experiencing prolonged heat events, proactive temperature management in infant spaces is more important than ever.
Here’s your immediate implementation checklist:
- ✅ Install a dedicated thermometer/hygrometer at crib level — not just on the wall. Aim for a constant read between 68–72°F and 40–60% humidity.
- ✅ Audit your cooling system — confirm it can maintain target temperatures during your region’s hottest months. Consider a backup solution (portable AC or fan) before you need it.
- ✅ Review your crib placement against the 5 Golden Rules outlined in this guide. Even one relocation can make a meaningful difference.
- ✅ Select the correct TOG-rated sleep sack for your nursery’s average temperature. Don’t use loose blankets for infants under 12 months.
- ✅ Set up a smart room sensor or monitor with temperature alerts — especially if you’re a deep sleeper or your nursery is far from your bedroom.
- ✅ Consult your pediatrician about specific temperature needs if your baby was premature, has respiratory concerns, or has other health considerations.
The broader implication here extends beyond comfort: the environments we create for our youngest family members shape their sleep quality, physiological development, and long-term health patterns. A cool, safe nursery isn’t a luxury — it’s foundational care.
So here’s your challenge: Walk into your nursery right now with a thermometer and genuinely assess what you find. Does the temperature reflect what the rest of your home reads? Is there a draft from a vent you hadn’t noticed? Is the room darker and cooler at 3 AM — or warmer and stuffier? The answers might surprise you, and they might just be the most important information you gather this week as a new parent.
Article reviewed by Tom Schuster, Roofing & Water Damage Rehabilitation Expert, on June 8, 2026